Asp.NET core and .NET core comes with a nice interface to handle encryption, as documented here. Now my goal is configuring data protection api for multiple instance of a software, so we need to share keys in a shared location and at the same time keep them secret. Luckily enough .NET core already has everything we need.
The overall solution will need two parameter to our program, Folder where to store keys and a certificate thumbprint to protect the keys. In my scenario I want to use Self Signed Certificate, because I’m not using TLS or other form of server side encryption, I only need an extra layer of protection to allow reading keys only from machines that have my certificate installed. First of all I need some code to generate a Self Sign Certificate, to simplify installation I simply want IT guy to use swagger interface to generate a self signed certificate and then install in all the machine he/she needs.
| |
This code is super simple, it just accepts a certificate names, a password and a .pfx file to save certificate to and it will simply generate a valid certificate with an RSA private key with that name and with 10 years validity. Then I create a simple api to autogenerate the certificate, you can call it with swagger, with no problem. The goal is allowing an IT guy to simply generate a self signed certificate valid for key encryption. If you have a good and valid certificate signed by a CA it is better, but for this scenario a self signed works just fine.
| |
Now you need to import certificate (computer or user store) in All computer that must share the keys. Essentially if you have multiple instances of ASP.NET software that needs to share auth cookies or encrypted data in database, each instance must be able to access to a set of shared keys. Now just add a configuration section to your software where you can specify key location and certificate thumbprint and the game is done. With that configuration you can configure the IDataProtectionProvider interface.
But before jumping into the configuration we need some code to retrieve the certificate from the certificate store, this is needed because standard .NET api to protect keys with certificate does not works with Self Signed certificates. This simple code uses the store.Certificate.Find api passing false as last argument to skip validation of certificate. Again: in this scenario a self signed certificate is ok, but if you have a certificate signed by a trusted CA, that is the option to go.
| |
Once you have this code you can configure everything. I stored configuration in a class DataProtectionConfiguration that contains three parameters, first one is Type, to choose location for the key, in this version of the software I only support file system key based store but you can expand to use other supported providers.
Then if you choose a different location for the keys the code creates the directory if not exists and then call PersistKeysToFileSystem method to specify keys location. Then if the CertificateThumbprint parameter is present, keys are protected with certificate taken from certificate store. As you can see all parameters are completely optional, so if you do not specify anything keys will be stored inside standard ASP.NET location %LOCALAPPDATA%\ASP.NET\DataProtection-Keys.
Remember to use the SetApplicationName if you want to share keys between more instance of the same application, because base API will force application isolation so keys are shared only if the app uses the same application name.
| |
Lets see the result, if you do not specify nor location nor certificate keys are located in %LOCALAPPDATA%\ASP.NET\DataProtection-Keys folders and here is an example.
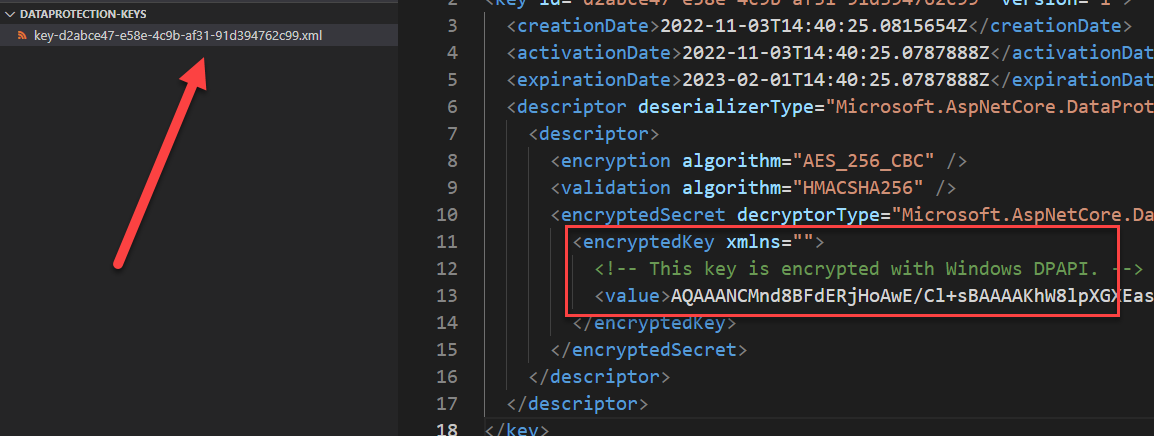
Figure 1: Standard DPAPI protected keys
If you only specify the location and not specify a certificate thumbprint .NET infrastructure will use that folder to store the keys, but keys material will not be encrypted, it will be stored in clear text. This situation is far from being ideal and must be avoided. Clearly you can argue that if someone has access to the local file with keys he/she can use DPAPI to unprotect the keys but clearly it is not the best situation.
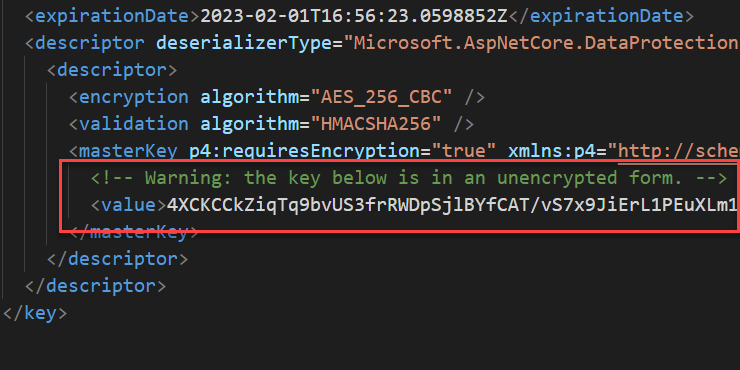
Figure 2: Clear text ASP.NET keys
If you add Certificate Thumbprint you have a real better situation, where .NET process can encrypt keys using certificate. In that scenario an attacker must have access to certificate and files to find the keys. Usually the location is a shared folder where only user that runs the process have access, but using certificate you are adding that extra level of protection requiring to have that certificate installed to decrypt the keys.
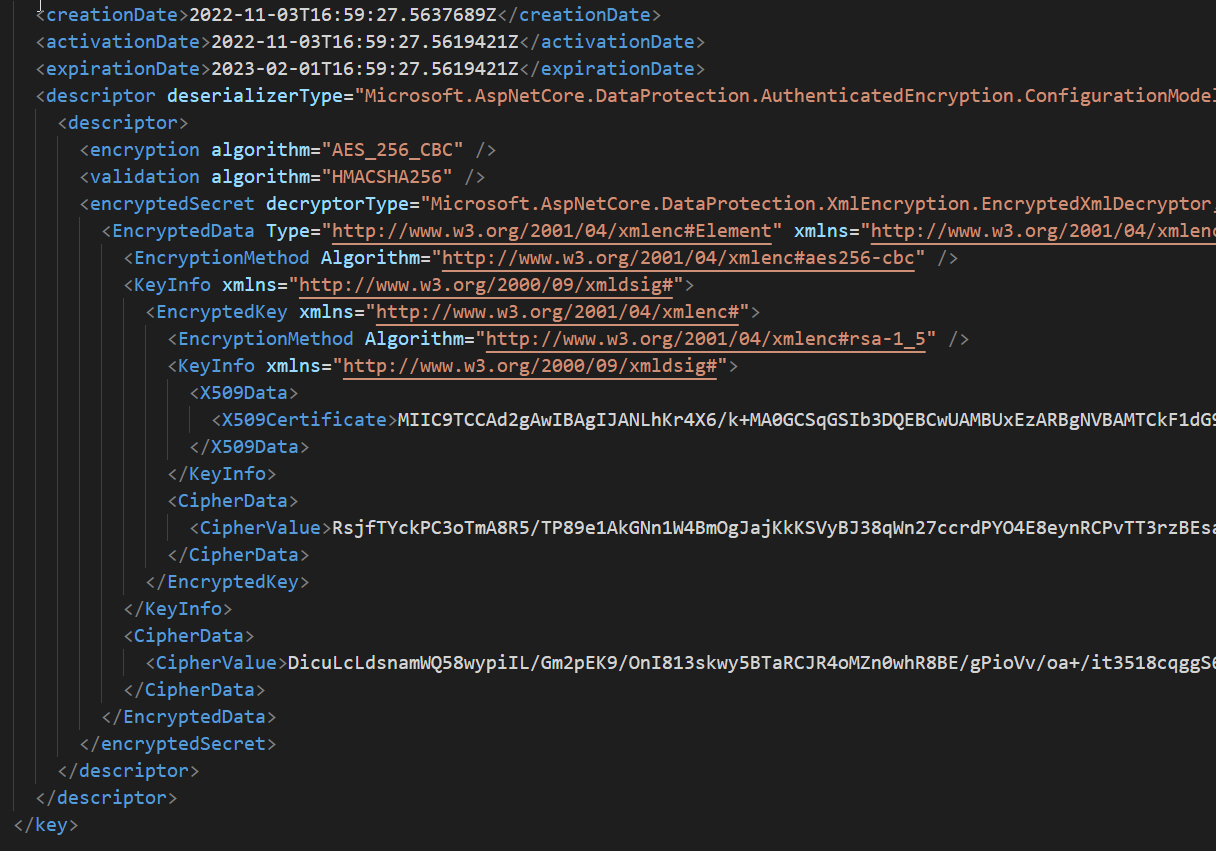
Figure 3: Certificate Encrypted ASP.NET keys
As you can see from Figure 3 keys are now encrypted with a certificate.
Troubleshooting:
If you got “Keyset does not exist” exception you forgot to give to the user running the service access to private keys of the certificate.
In that situation just open mmc.exe, right click the certificate select All Tasks -> Manage Private Keys" and give to the user that runs the application permission to read private keys.
You can now use IDataProtectionProvider interface in your classes to Encrypt/decrypt data without worrying where keys are stored. If you
Be sure to read This article to better understand the underling architecture and learn how to rotate certificate and configure more advanced features of Protection Provider.
Gian Maria.