In a previous post on releasing with Multi Stage Pipeline and YAML code I briefly introduced the concept of environments. In that example I used an environment called single_env and you can be surprised that, by default, an environment is automatically created when the release runs. This happens because an environment can be seen as sets of resources used as target for deployments, but in the actual preview version, in Azure DevOps, you can only add Kubernetes resources. The question is: why have I used an environment to deploy an application to Azure if there is no connection between the environment and your azure resources? > At this stage of the preview, we can only connect Kubernetes to an environment, no other physical resource can be linked.
I have two answer for this, the first is: Multi State Release pipeline in YAML is still in preview and we know that it is still incomplete, the other is: an environment is a set of information and rules, and rules can be enforced even if there is no a direct connection with physical resources. 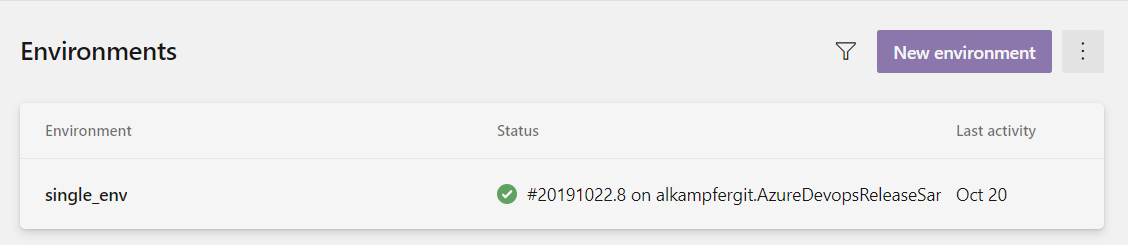
Figure 1: Environment in Azure DevOps
As you see in Figure 1 a first advantage of environment is that I can immediately check its status. From the above picture I can immediately spot that I have a release successfully deployed on it. Clicking on the status opens pipeline details released on that environment. Clicking on Environment name opens environment detail page, where you can view all information for the environment (name, and all release made on it) and it is possible to add resources and manage Security and Checks.

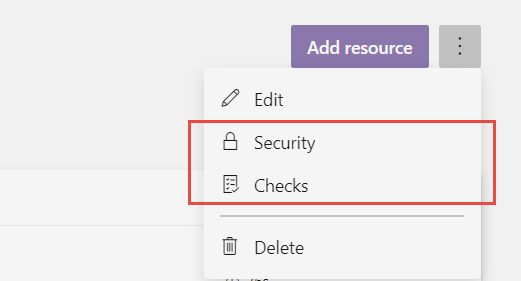
Figure 2: Security and Checks configuration for an environment.
Security is pretty straightforward, it is used to decide who can use and modify the environment, the real cool feature is the ability to create checks. If you click checks in Figure 2 you are redirected on a page that lists all the checks that need to be done before the environment can be used as a target for deploy.

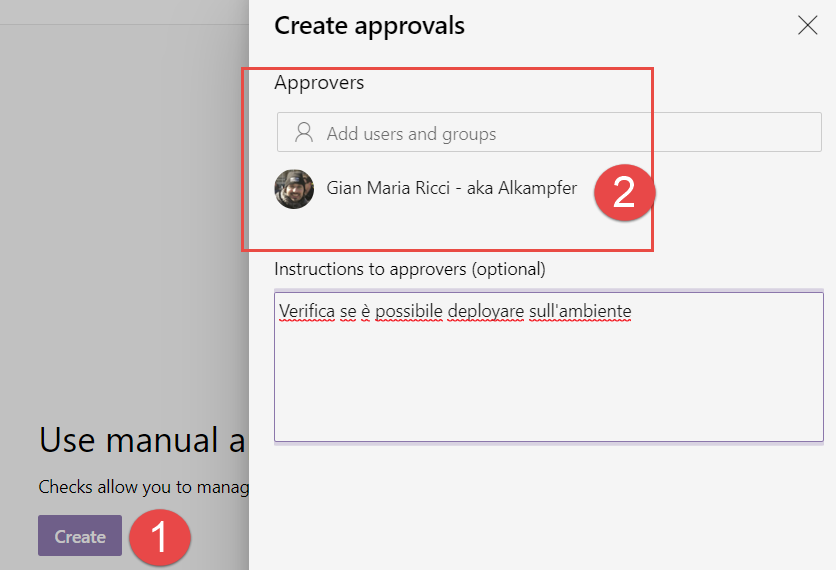
Figure 3: Creating a check for the environment.
As an example I created a simple manual approval, put myself as the only approver and add some instruction. Once a check was created, it is listed in the Checks list for the environment.
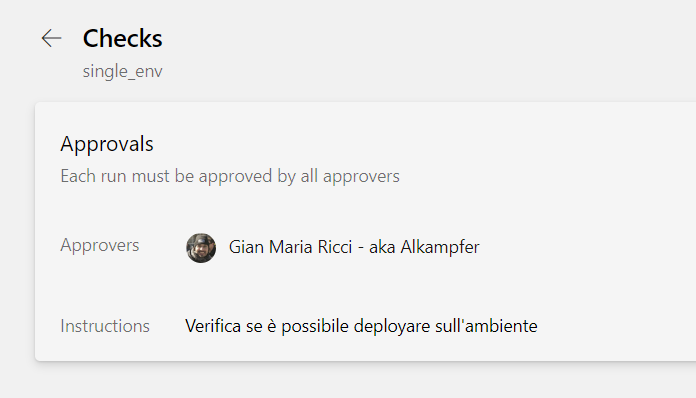
Figure 4: Checks defined for the environment single_env
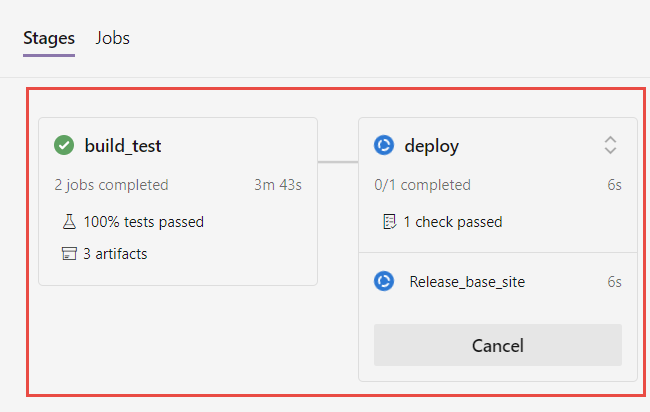
If I trigger another run, something interesting happens: after the build_test phase was completed , deploy stage is blocked by approval check.

Figure 4: Deploy stage was suspended because related environment has check to be fulfilled
Check support in environment can be used to apply deployment gates for my environments, like manual approval for the standard Azure DevOps classic release pipeline
Even if there is no physical link between the environment and my azure account where I’m deploying my application, azure pipeline detects that the environment has a check and block the execution of the script, as you can check in Figure 4.
Clicking on the check link in Figure 4 opens a details with all checks that should be done before continuing with deploy script. In Figure 5 you can check that the deploy is waiting for me to approve it, I can simply press the Approve button to have deploy script to start. 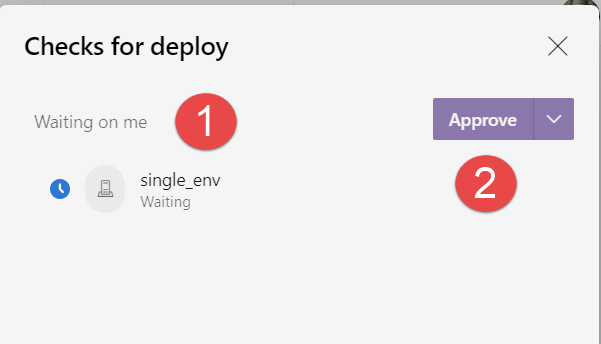
Figure 5: Checks for deploy stage
Once an agent is available, deploy stage can now start because I’ve done all check for related environment.
Figure 6: Deploy stage started, all the check are passed.
Once deploy operation finished, I can always verify checks, in Figure 7 I can verify how easy is to find who approved the release in that environment. 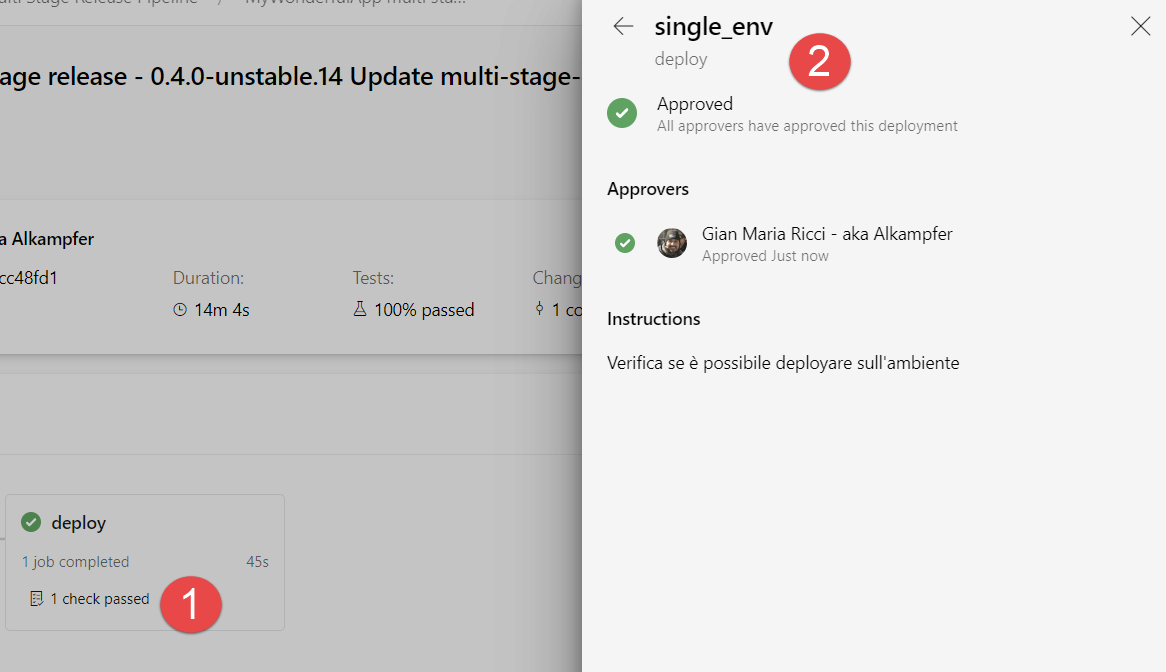
Figure 7: Verifying the checks for deploy after pipeline finished.
Actually the only check available is manual approval, but I’m expecting more and more checks to be available in the future, so keeps an eye to future release notes.
Gian Maria.