The world of computer is changing and is it not possible anymore to live in an isolated silo where you use only one operating system or technology , and this is the reason why, even if my last 20 years of development and work were made exclusively on Windows technologies, in this last 2 years I had many occasion to use Linux machines.
I used Linux at the very beginning, using Slackware distribution and I was the typical guy that use command line. At that time I used Windows Maker as UI but all the administration was done via console. This is the reason why, when I need a Linux VM (docker, ElasticSearch, Solr, Mongo, etc) I always install without a GUI. I use local Hyper-V host or Azure, and usually connect to machine via SSH with standard username and password, but this is not the optimal situation because I have lots of VM. With many Vm you can use the same password for all machines, or use a password manager to keep track of all the passwords, but this is not so secure (even if all environment are test ones).
A better solution is using certificate to connect to your Linux machine via SSH.
If you constantly use Linux VM I strongly suggest you to use SSH with certificates, because it is far more secure and manageable than using Username and Password. I’m not a security expert, but I want to simply explain how I enabled Certificated based auth in SSH to get rid of all of my passwords.
First of all you should generate a certificate with ssh-keygen.
| |
The only option this command is asking you is a password to encrypt the certificate, if you prefer more security please choose a strong password.
Now you have two files in your.ssh directory, one is the private key and the other is the public key. Asymmetric encryption permits you to verify a private certificate with the public key, and SSH has a file in.ssh/authorized_key of each user account where you should list all Public Keys of certificates allowed to login to that account. Now that you have a valid Public key you can add it to the list of authorized key to connect to the current account with a simple account.
| |
Each account has a list of Public Keys related to certificate that are allowed to login with that account
Now you can use the private key to connect to this machine without the need to use username and password. The client should have access to private key, so the server can validate that key agains the list of valid Public keys (.ssh/authorized_keys) to understand if it is entiled to login.
Private key is usually password protected (remember that a password is asked during generation of the certificate) and you should store private key file in a really secure place. I’ve transferred both the file to my windows machine thanks to winSCP, then store my private and public key in keepass to securely store toghether with my passwords. Then I’ve created a folder in my system that uses encryption, and copied certificate file in that folder.
Now if you use Putty, you should use puttygen.exe to convert id_rsa file (private key) in putty format, then you can use to login with putty. This excellent tutorial will guide you through all the steps.
If you choose a password during generation of the certificate, the password will be ask to you each time you connect to the server. If you can accept less security for test machines, you can generate certificate without specifying a password. If the private key certificate has no password, you can simply double click on stored session on putty and you are logged.
Remember that, if the private key is not password protected, anyone that can get the file is able to login to the machine without any problem
I strongly suggest you to never ever generate a certificate without a strong password for every production server or for any machine where you store data you are about.
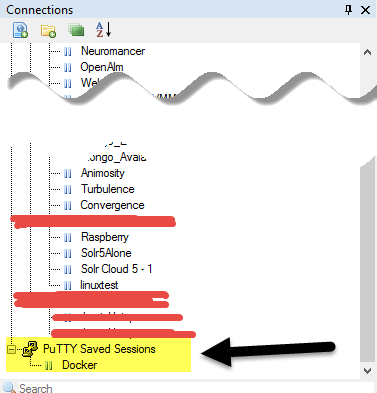
Finally, thanks to mRemoteNg ability to read putty saved sessions, I can now simply double click the connection and I’m logged to my machines.

Figure 1: mRemoteNG is able to read PuTTY saved session, now you can double click the link and you are logged.
Gian Maria.