If you like to use certificate to connect via SSH to your Linux machine you will probably use that technique to access all of your VMs, even those one hosted on Azure.
This operation is really simple, because Azure Portal allow you to specify the public key during VM creation and everything else is managed by VM Creation Scripts. In the same blade where you specify username and password you can opt in to use a certificate instead of a password. You should open the file with.pub extension you’ve created previously (with ssh-keygen) and paste full content in appropriate textbox.
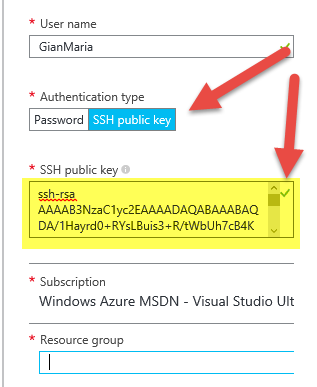
Figure 1: Specifying ssh public key during VM Creation
As you can see from Figure 1 the portal will validate the key with a little green sign at the right of the textbox, informing you that the public key is valid. Once the VM is created you can use Putty or your favourite ssh client to access your machine with the certificate.
Thanks to Azure Portal you can choose to use an existing certificate to access your machine
If you already created your vm using standard username and password, you can easily connect to that machine and add public key to.ssh/authorized_keys file as showed in previous blog post, or you can use Azure CLI to configure SSH on an existing VM. First of all you need to convert the file generated with ssh-keygen in a format that can be understood by Azure CLI.
Unfortunately you cannot use the.pub file as you can when you are creating the machine; Command Line Interface tool require a file with.pem extension. You can convert your file easily with openssl utility in a Linux VM.
| |
Thanks to this command, my RSA private key file, generated with ssh-keygen is converted to a pem file. Now you can use it to configure your VM from Azure CLI.
| |
You will be prompted for Resource Group and VM Name (you can specify those two parameter from command line), then the CLI will update your Virtual Machine for you.
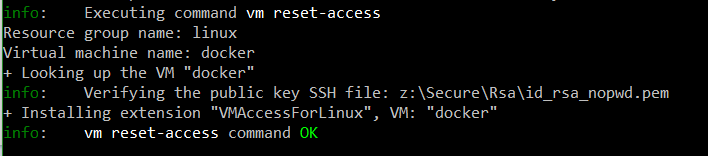
Figure 2: Result of the reset-access command
Now you can access your VM using certificate , and if you check your.ssh/authorized_keys file, you can check that the public key was correctly added by the Azure CLI utility.

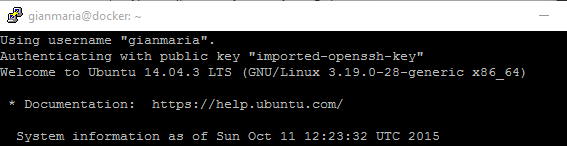
Figure 3: I can now connect to my VM using certificate
Gian Maria.